
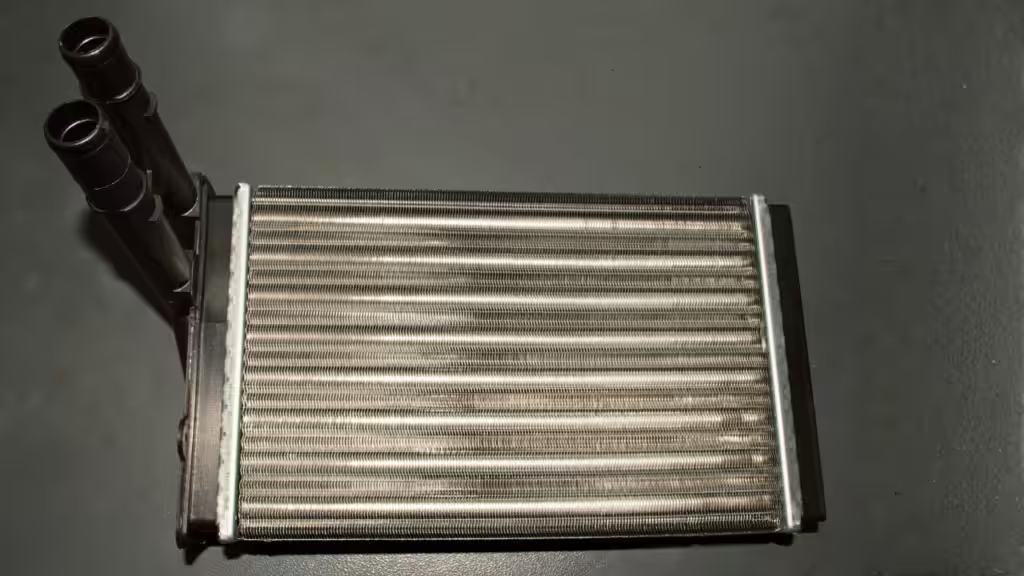
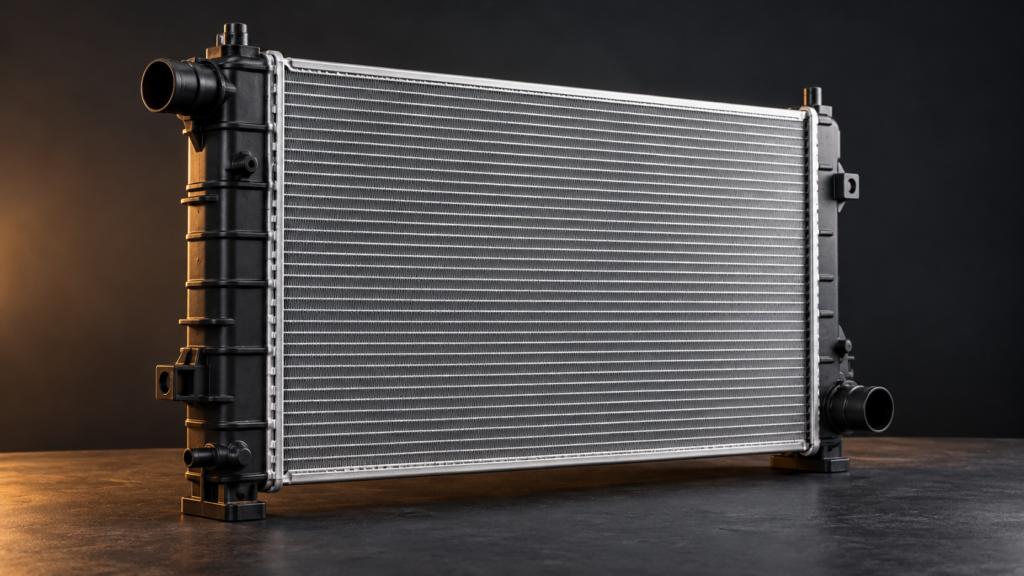
AI-generated product illustration; not a photograph of a specific HJTC model.
Choosing an automotive radiator starts with three checks: it must fit the vehicle, reject the required heat in the installed cooling system, and withstand the application’s operating conditions.
For OEM purchasing teams, the difficult part is turning those requirements into a specification that different suppliers can quote and demonstrate. A catalog description such as “heavy duty” leaves too much open to interpretation. Even a cooling-capacity figure needs its test conditions before it becomes useful.
This guide explains what to define, measure and verify before approving a radiator. It focuses on engine-coolant radiators for vehicle and equipment projects. Separate battery, inverter or other low-temperature cooling circuits require their own temperature limits and operating data.
1. Define the application and the selection route
Start by identifying whether you need a replacement for an established assembly or a radiator for a new or modified cooling package.
For an existing application, record the OE reference where available, engine and transmission variant, production revision and installed cooling equipment. Keep an approved drawing or reference sample alongside the part-number information. A familiar model name can hide differences in ports, mountings and auxiliary cooling connections.
For a new or modified application, give suppliers the installation envelope and a duty specification. Changes to engine output, vehicle loading, front-end packaging or fan control require engineering review, even when an existing radiator physically fits.
Describe the conditions that matter to the project: prolonged idling, low-speed work, sustained load, towing, ambient temperature, altitude and exposure to dirt or debris. Ask the vehicle engineering team to identify the operating cases that will determine acceptance.
The outcome should be a short, controlled application brief. Record who owns each input and its revision so purchasing does not compare quotations based on different assumptions.
2. Build a thermal specification suppliers can use
A radiator’s heat-rejection requirement must come from the cooling-system heat balance or appropriate test data. Engine power alone does not specify the heat entering the coolant.
Use the following as a starting template. It is a project planning aid, not a universal radiator specification.
| Input | What to provide |
|---|---|
| Required heat rejection | Coolant heat load for each critical operating case, with the data source |
| Coolant | Fluid specification, mixture concentration and relevant properties |
| Temperature limits | Radiator inlet condition, required outlet condition or system temperature limit |
| Coolant flow | Flow through the radiator at the relevant pump operating point |
| Coolant-side pressure drop | Permitted pressure loss through the radiator at that flow |
| Incoming air | Temperature at the radiator face, plus altitude or air-density conditions |
| Available airflow | Installed airflow information, or fan and cooling-module data for evaluation |
| Operating duty | Load duration, vehicle speed, fan-control state and environmental exposure |
For an approximate steady-state coolant energy balance:
Q = ṁ × cp × (T_in − T_out)
Here, Q is heat transfer in kW, ṁ is coolant mass flow in kg/s, and cp is specific heat in kJ/(kg·K). Use the properties of the specified mixture at a representative temperature.
For example, an assumed mass flow of 2.0 kg/s, specific heat of 3.6 kJ/(kg·K) and coolant temperature drop of 10 K give:
Q = 2.0 × 3.6 × 10 = 72 kW
This is an illustrative calculation, not an HJTC product rating. It describes the heat carried by those assumed coolant conditions; it does not establish which radiator can achieve them. Core selection still requires thermal-performance data and an assessment of airflow, packaging and pressure losses.
If an input is unknown, identify it as a measurement or engineering action. Leaving the field explicit is more useful than inserting an unverified value into every RFQ.
3. Confirm core dimensions and the installation envelope
Core dimensions describe the active tube-and-fin area. Overall assembly dimensions also include tanks, headers, brackets, hose necks and other protrusions.
Keep these measurements separate in your drawing. FSR’s vehicle radiator measurement guide highlights core dimensions, mounting locations and fluid connections as practical fitment checks.
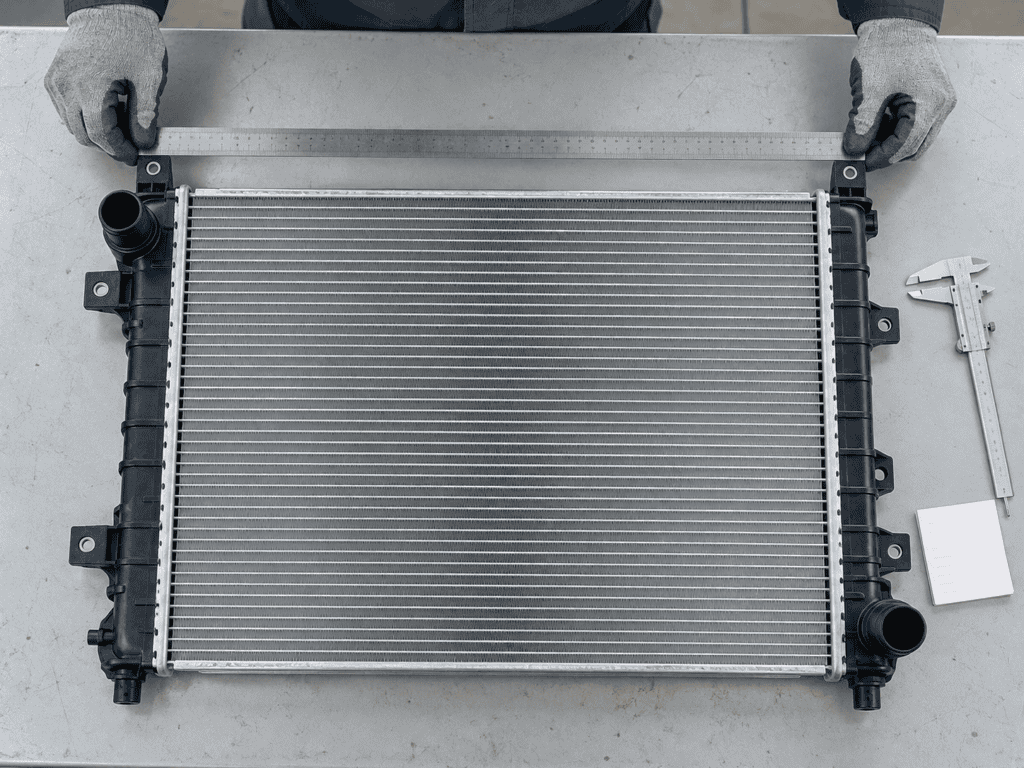
Record the following details:
- Core envelope: height, width and depth, with clearly defined measurement boundaries.
- Assembly envelope: the maximum outline including tanks and protruding fittings.
- Mounting interfaces: hole or peg locations, datums, isolators and required tolerances.
- Hose connections: diameter, location, angle and connection style.
- Additional interfaces: sensor ports, drain points and auxiliary cooler connections where applicable.
- Installation clearances: fan, shroud, condenser, hose routing and access for assembly.
Photographs help suppliers understand the arrangement. Drawings establish dimensions and tolerances. Use both when a sample contains features that are difficult to describe.
Also confirm the orientation used in photographs and drawings. “Left-hand outlet” is ambiguous unless the viewing direction is stated.
4. Evaluate airflow through the complete cooling module
The installed radiator shares its air path with the rest of the vehicle. DENSO’s radiator overview explains that condensers, oil coolers and intercoolers can influence the airflow available for engine cooling.
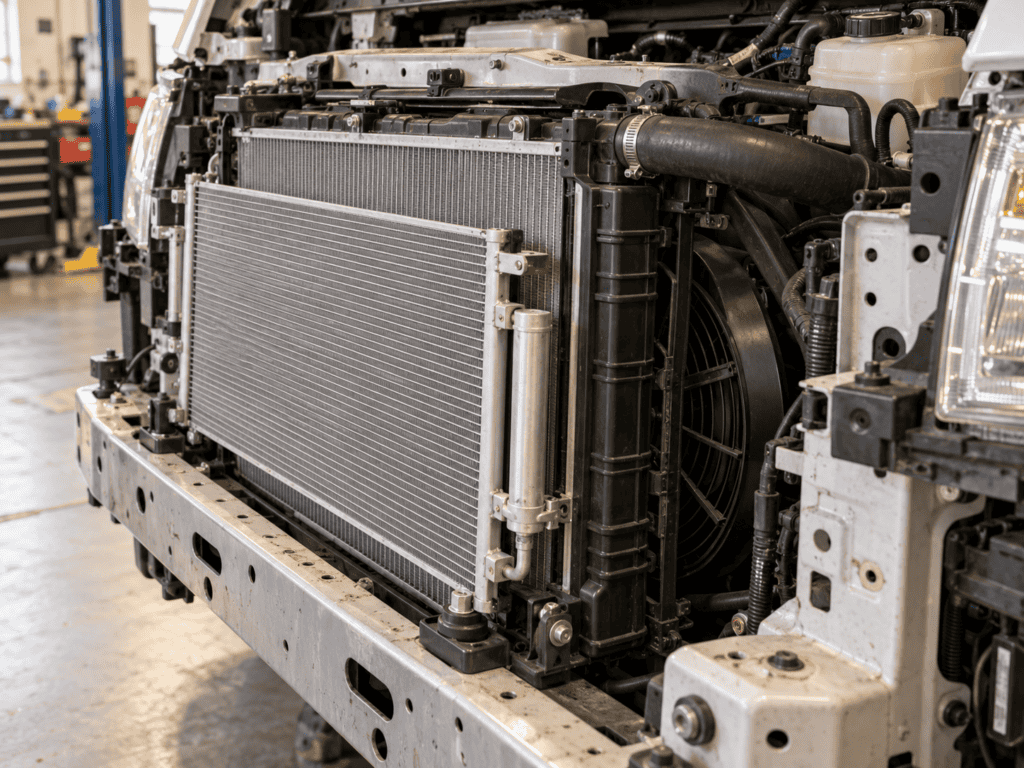
An upstream condenser can both restrict airflow and raise the temperature of the air entering the radiator. This interaction is discussed in the ASHRAE Handbook’s automobiles chapter. Consequently, ambient temperature and radiator air-inlet temperature should be distinguished in the selection brief.
Review the fan, shroud, grille opening, other heat exchangers and perimeter seals together. Include the routes by which air enters and leaves the package.
A fan’s free-air flow figure does not establish the airflow through an installed cooling module. Ask for an assessment at the resistance of the actual package, using the relevant fan speed or control setting.
For a low-speed duty case, document the available fan operation. For a sustained driving case, document vehicle speed and the applicable load. The engineering team should decide which cases bound the application.
If a thermal test passes only with temporary workshop fans or a different shroud, record that limitation before approving the production configuration.
5. Compare core design and construction
Core thickness, tube layout and fin geometry
A deeper core or a higher row count can change heat-transfer area, but selection also depends on airflow and the space available. Fin pitch and tube geometry influence the balance between heat transfer and flow resistance.
Mishimoto’s radiator design discussion describes these trade-offs and the need to coordinate the core with vehicle packaging.
For purchasing, turn a proposed design change into questions: What performance difference is demonstrated? Under which conditions? Does it change pressure drop, mass, interfaces or clearance?
Tank and core construction
Identify the assembly being quoted, including the tank material and joint design. Nissens’ radiator range includes both aluminum-core/plastic-tank and full-aluminum constructions.
For a brazed aluminum core with plastic tanks, the tank-to-header seal and crimp are relevant inspection points. For an assembly with welded aluminum tanks, the tank joints and weld quality need appropriate controls. RadiCore’s manufacturing overview describes these different assembly steps.
| Construction under consideration | Questions for the supplier |
|---|---|
| Aluminum core with composite tanks | Which tank material, gasket and joint controls apply to this part? |
| Full-aluminum assembly | What joint design, mounting provisions and durability evidence are proposed? |
| Copper-brass assembly | How will this option meet the project’s performance, mass, corrosion and service requirements? |
Require evidence for the proposed assembly. A material name or manufacturing method does not provide a complete performance comparison.
6. Compare supplier data under matched conditions
Ask automotive radiator suppliers to complete the same comparison sheet for the exact part revision being offered.
| Comparison field | Evidence to request |
|---|---|
| Part identity | Drawing, revision and tested sample configuration |
| Thermal result | Heat rejection and coolant temperatures at the stated operating point |
| Coolant conditions | Fluid, concentration, inlet temperature and flow |
| Air conditions | Inlet temperature, airflow definition and relevant density conditions |
| Pressure losses | Coolant-side and air-side results at stated flows |
| Test arrangement | Core or complete assembly; bench fixture or installed module |
| Data status | Measured results or simulation, with method and limitations identified |
Where simulation supports the proposal, ask how it has been correlated with testing. A prediction can be useful during development, provided its assumptions and approval role are clear.
Illustrative purchasing decision: Supplier A offers a higher heat-rejection figure than Supplier B, but its test used more airflow and colder inlet air. Those figures do not establish which radiator performs better in your vehicle. Request data at the agreed project conditions before assigning a technical preference.
The same discipline applies to pressure drop. A lower value measured at a lower coolant flow may not satisfy your comparison. Keep units, flow definitions and test conditions alongside every result.
A useful technical shortlist contains comparable evidence and clearly identified gaps.
7. Set the sample approval and validation plan
Define acceptance criteria before ordering development samples. Link each requirement to a verification method, responsible person and report.
Fitment and assembly
Check the sample against the controlled drawing, then confirm installation in the representative vehicle or fixture. Record hose access, bracket alignment, isolators, fasteners, fan clearance and service access.
If an adjustment is needed, document it as a design change. An undocumented bracket modification during sample fitting can disappear when the production order is placed.
Thermal performance
Test the agreed duty cases with the intended cooling-module configuration. Record the coolant, fan settings, load, airflow-related conditions and temperature measurements needed to interpret the result.
Identify whether the evidence concerns a component bench test or a complete vehicle evaluation. They answer related questions at different levels of integration.
Sealing and durability
Specify the leak-test method, test medium, pressure, duration and acceptance threshold appropriate to the assembly. Keep operating pressure, proof pressure and burst pressure clearly distinguished.
A leak check verifies sealing under its test conditions. Broader durability approval may require other evidence. For example, Nissens lists corrosion, vibration, pressure-impulse, thermal-expansion and thermal-performance testing for its radiators. That list illustrates distinct evaluation categories; the requirements for your project must be agreed separately.
Before release, close the drawing revisions and outstanding deviations. Connect the approved sample configuration to the production inspection requirements so the purchased part remains identifiable.
8. Prepare a clear selection request for HJTC
HJTC’s automotive radiator range covers aluminum and copper-brass options for passenger vehicles, commercial trucks and off-highway applications. Start the discussion with the application and the evidence available for your project.
A practical first submission includes:
- Vehicle or equipment application, engine variant and OE reference where relevant.
- Drawing, revision, photographs and reference-sample availability.
- Core dimensions, complete installation envelope and connection details.
- Known heat load, coolant specification, temperatures, flow and pressure-drop limits.
- Fan, shroud and other cooling-module information.
- Required validation, sample quantity, forecast volume and project timing.
Mark any missing engineering inputs so they can be addressed during the review. For supplier comparison, keep the same brief and revision across all quotations.
Send your radiator specifications to HJTC to discuss product matching and project requirements.
Automotive radiator selection FAQs
Can engine horsepower determine radiator size?
Horsepower alone is insufficient. Selection needs the heat entering the coolant, the required temperature limits and the airflow available at the relevant operating conditions. Engine and vehicle engineering data provide the basis for that assessment.
Is a thicker radiator always a better choice?
The result depends on the core design, available airflow and installation space. Request performance and pressure-drop data for the proposed configuration instead of treating thickness as a universal ranking.
Are core dimensions enough to confirm fitment?
You also need the complete assembly envelope, mounting interfaces, hose connections and clearances. Agree measurement boundaries and viewing directions before comparing drawings.
What should OEM and aftermarket buyers verify?
In both cases, verify the exact application, part revision, fitment and relevant performance evidence. Product labels are useful identifiers, but the approval decision should be tied to the specific assembly and purchasing requirements.